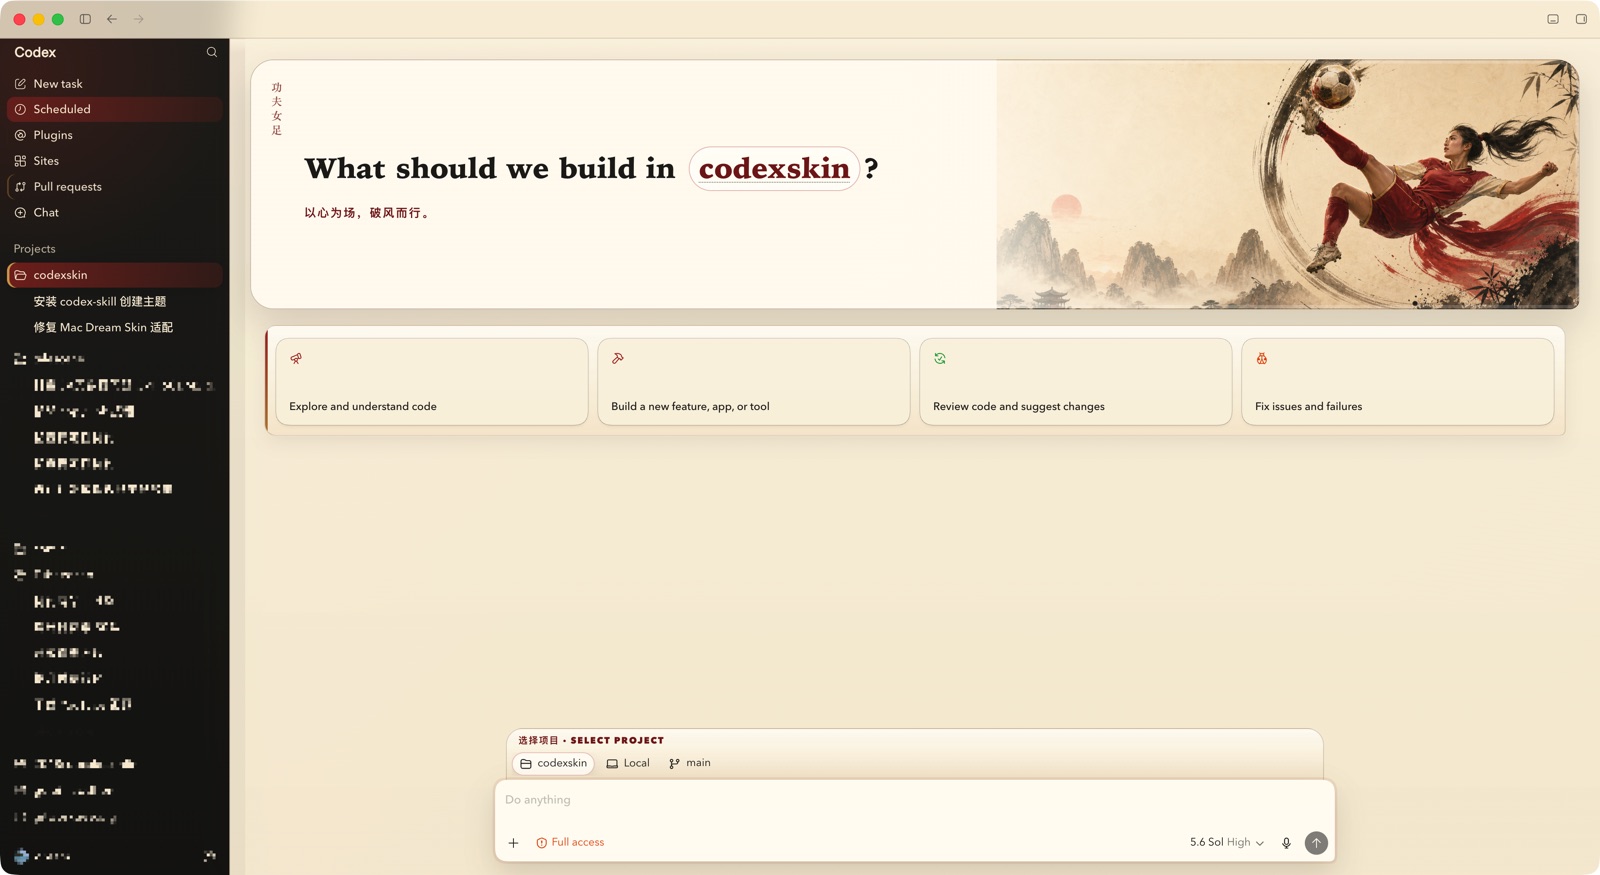
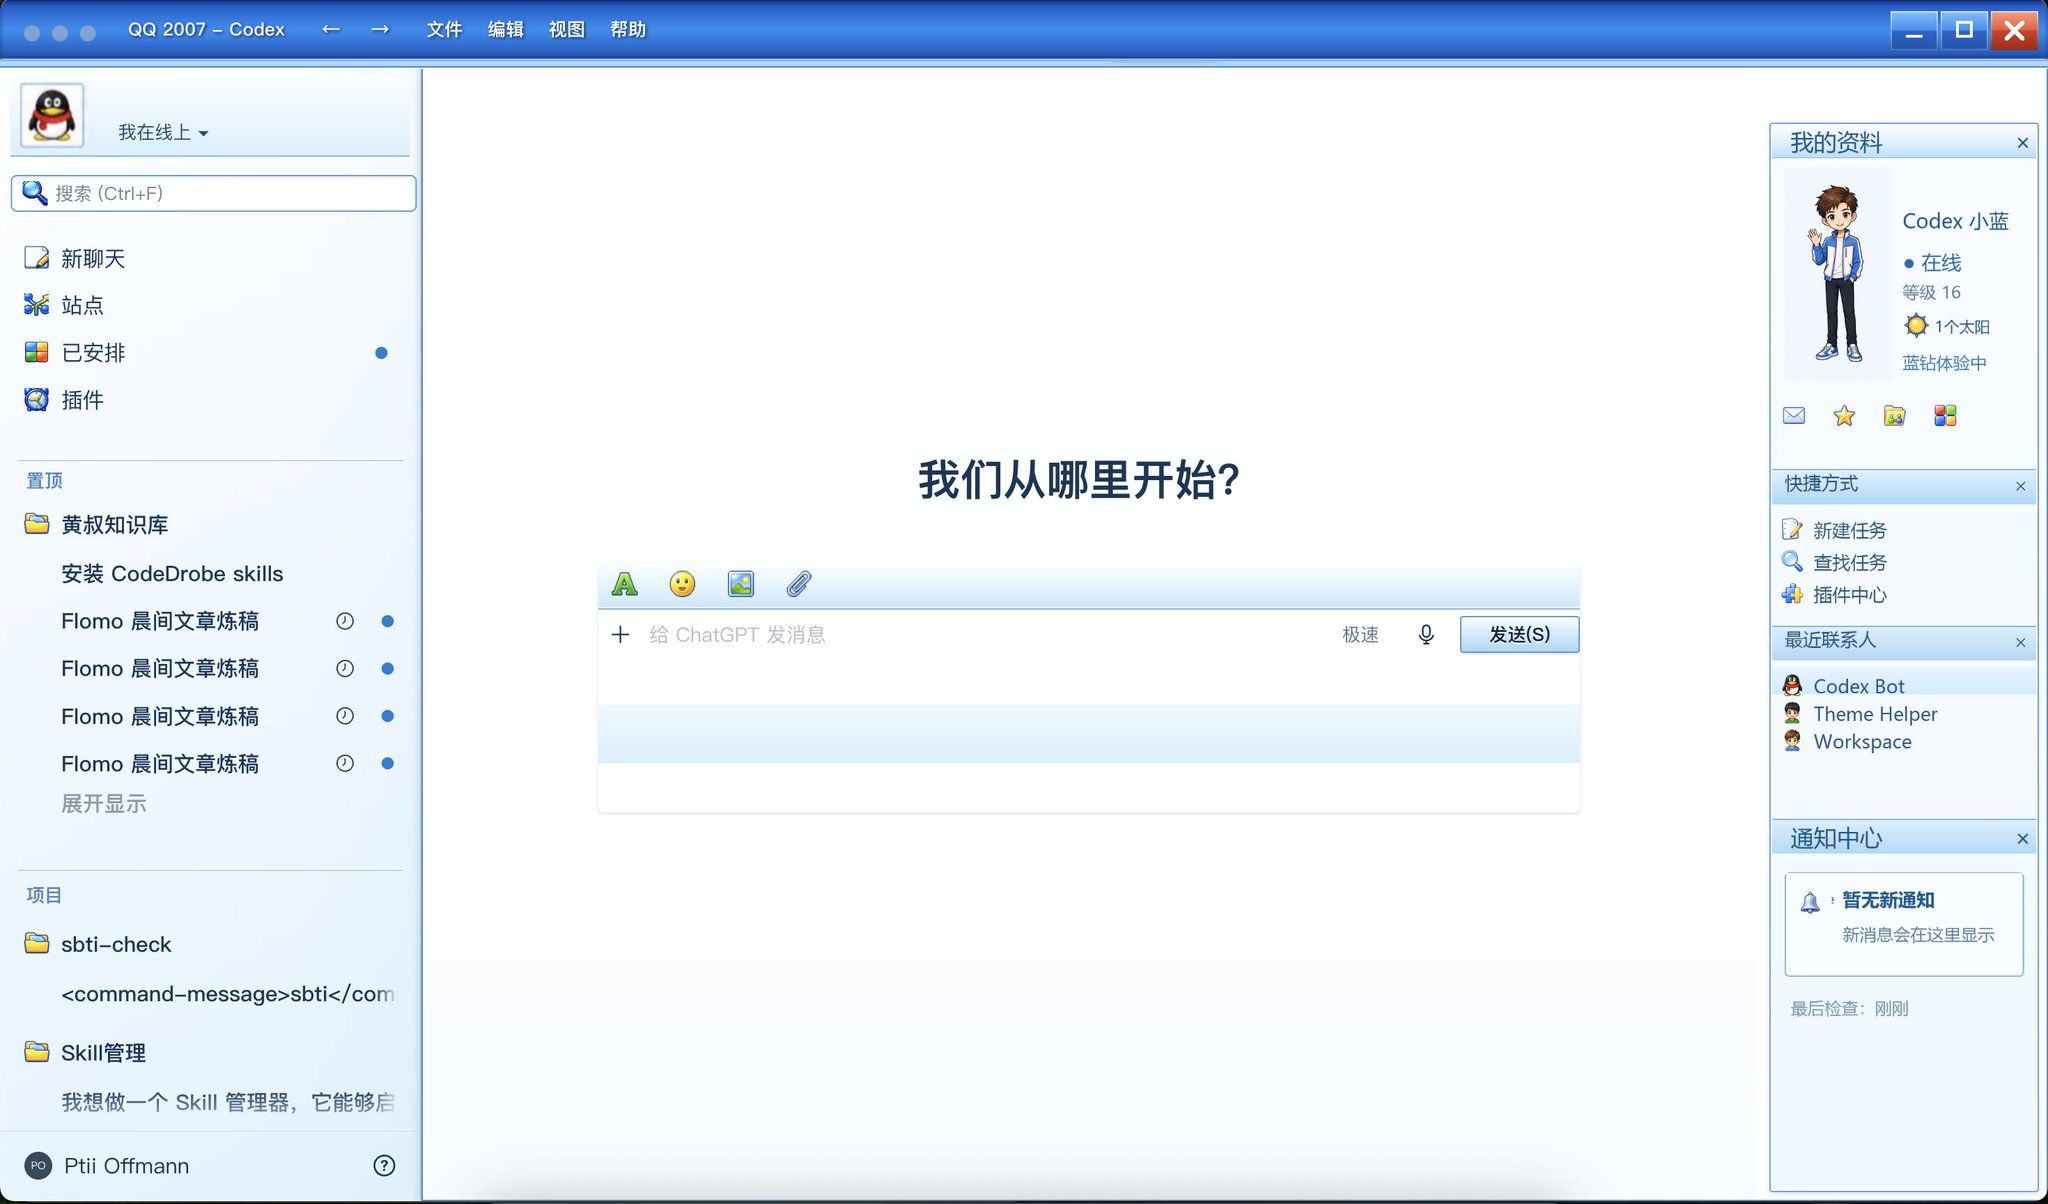
macOS · Codex Dream Skin
Install Codex Dream Skin on macOS
Works on Apple Silicon and Intel Macs. No global Node.js required — the engine uses Codex’s own signed bundled Node after validating its signature.

Before you start
- Official Codex Desktop installed and launched at least once (recent macOS builds may appear as ChatGPT.app; the signed bundle id is still com.openai.codex)
- A UI-free 16:9 image (2560 × 1440 recommended; prepared image ≤ 16 MB, ≤ 16384px per side, ≤ 50 MP)
Installation steps
Download the engine
Clone with git as shown, or download the ZIP and cd into Codex-Dream-Skin-main/macos instead:
git clone https://github.com/Fei-Away/Codex-Dream-Skin.git
cd Codex-Dream-Skin/macosRun the installer
In Finder, double-click “Install Codex Dream Skin.command”. It installs the engine to ~/.codex/codex-dream-skin-studio and creates Desktop launchers. From a terminal you can instead run:
./scripts/install-dream-skin-macos.sh --no-launchPick a preset or your image
A fresh install seeds two tested presets: Gothic Void Crusade (the default) and Arina Hashimoto. Use Customize to import a UI-free image; adaptive analysis stays local.
~/.codex/codex-dream-skin-studio/scripts/customize-theme-macos.shStart themed Codex
Use the “Codex Dream Skin.command” Desktop launcher to start or re-apply. Optional: install the SwiftBar menu-bar item to apply / pause / change image from the 🎨 icon.
Verify (optional)
Check that injection is live and save a screenshot proof (works even if Desktop launchers were not created):
~/.codex/codex-dream-skin-studio/scripts/verify-dream-skin-macos.sh --reload --screenshot ~/Desktop/dream-skin-verify.pngRestore anytime
Double-click “Restore Codex Dream Skin.command”, or run the command below. Nothing in the official install directory is modified, so restore is instant and clean.
~/.codex/codex-dream-skin-studio/scripts/restore-dream-skin-macos.sh --restore-base-theme --restart-codexVideo walkthrough
A 3-minute community demo of the whole skinning flow (in Chinese), shared by Justin (@interjc) on X — thanks!
录了一个 Codex 换肤的简单教学视频
— Justin (@interjc) Watch on X ↗
Image tips
- Start with a UI-free 2560 × 1440 image; keep the left half calm and place the subject toward the right.
- One wallpaper spans the sidebar and content surface; native UI remains above it.
- Self-check anytime with the Verify command in step 5.
Full docs & source: Fei-Away/Codex-Dream-Skin ↗ · Direct ZIP download
Themes you can install right now